Ingredients
Method
- Dust your work surface lightly with cornstarch (optional) and roll the clay to ¼ inch thick. Keep the thickness even for smooth drying.
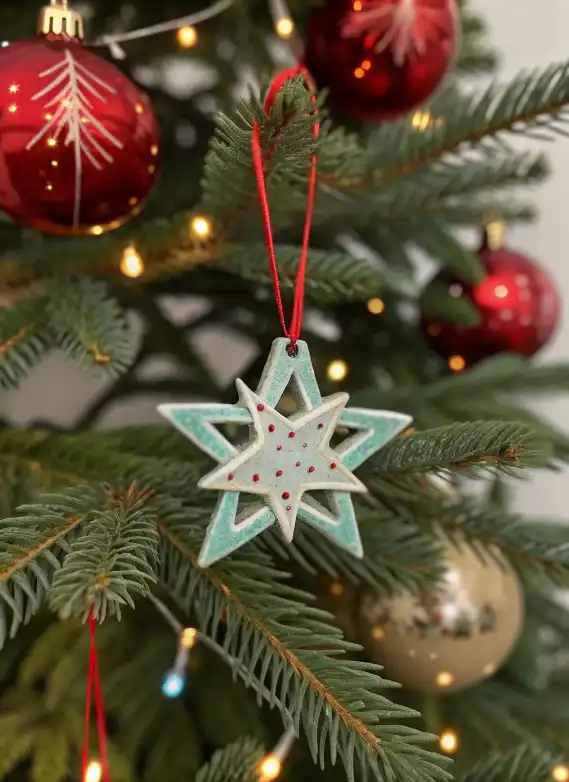
- Use star cutters to cut a large star and a slightly smaller star. If you don’t have cutters, carefully trim free-hand using a knife.
- Gently score the center of the large star and the back of the smaller star. Moisten both areas with a damp finger and press them together.
- Use a straw or skewer to punch a clean hole near the top of the large star for hanging.
- Let the ornament dry completely. Air-dry clay: 24–48 hours. Flip halfway through. If using ceramic clay, allow to dry, then bisque-fire in a kiln.
- Paint the ornament with light blue paint. Allow the first coat to dry completely before continuing.
- Dip an old toothbrush in diluted brown or gold paint. Flick gently over the ornament to create a speckled effect.
- Seal the ornament with clear acrylic sealer (for acrylic paint) or apply clear glaze and fire again (for ceramic glaze).
- Thread a red ribbon or twine through the hole and tie securely. Your ornament is ready for display!
Notes
To prevent warping, flip the ornament halfway through drying. You can customize the paint colors to match your holiday décor. If gifting, consider wrapping in tissue and placing in a box to protect the ornament.