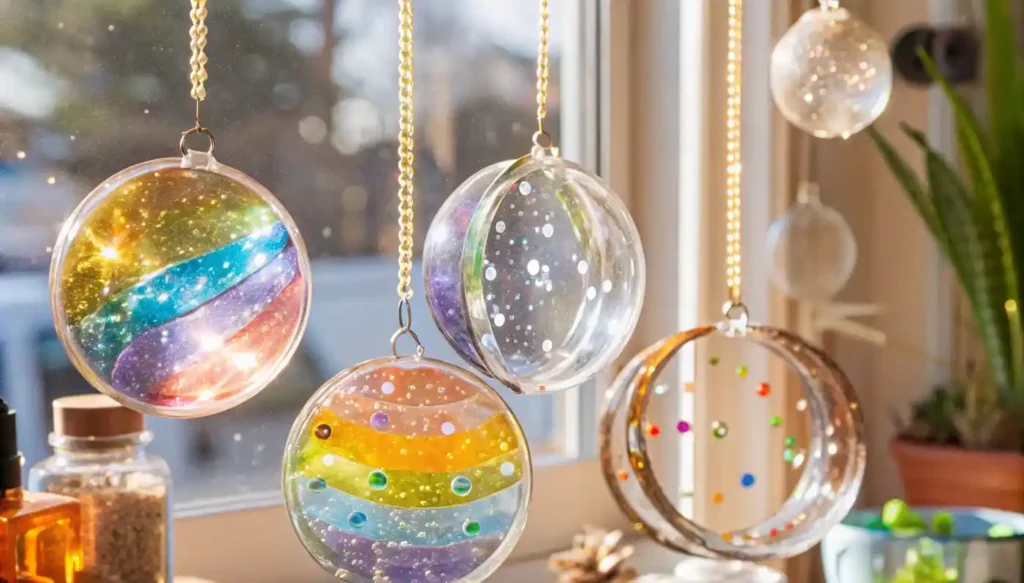
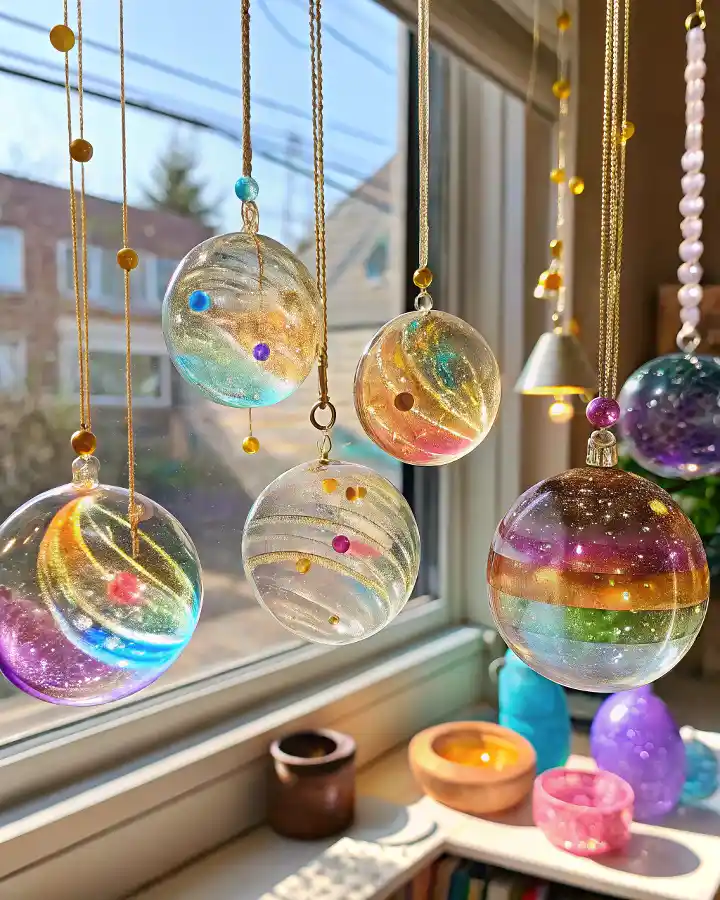
When the skies are gray and the kids are bored, there’s nothing like a little glue, color, and creativity to brighten everyone’s mood. This Clear Glue Suncatcher Craft is a perfect way to add a splash of color to your windows — and your day — using supplies you probably already have at home.
Before we jump into the how-to, let me tell you a quick story.
A Little Sunshine in a Yogurt Lid
It all started one rainy afternoon last spring. My daughter Emma had been pacing the living room like a tiny storm cloud of boredom. The rain kept pouring, and we’d already used up every coloring book and puzzle in sight. In a moment of desperation, I handed her a clean yogurt lid, a bottle of clear glue, and a few drops of food coloring.
“What are we making?” she asked. Honestly, I wasn’t sure — I was just winging it. But as the colors swirled and danced through the glue, her eyes lit up like it was magic. That little plastic lid became our first clear glue suncatcher, and it’s been hanging in our kitchen window ever since.
Sometimes, the best crafts come from those messy, unscripted moments — and that’s exactly why I love this one.
Why You’ll Love This Clear Glue Suncatcher Craft
This isn’t just another rainy day activity. The Clear Glue Suncatcher Craft is:
✅ Affordable – No need to buy anything fancy. Just reuse what you have.
✅ Creative – Every suncatcher turns out different, like a little window snowflake.
✅ Educational – Kids learn about color blending, transparency, and light.
✅ Low-Mess – Unlike paint or glitter bombs, this stays pretty contained.
✅ Eco-Friendly – Use clean plastic lids from food packaging — hello, recycling win!
Supplies You’ll Need

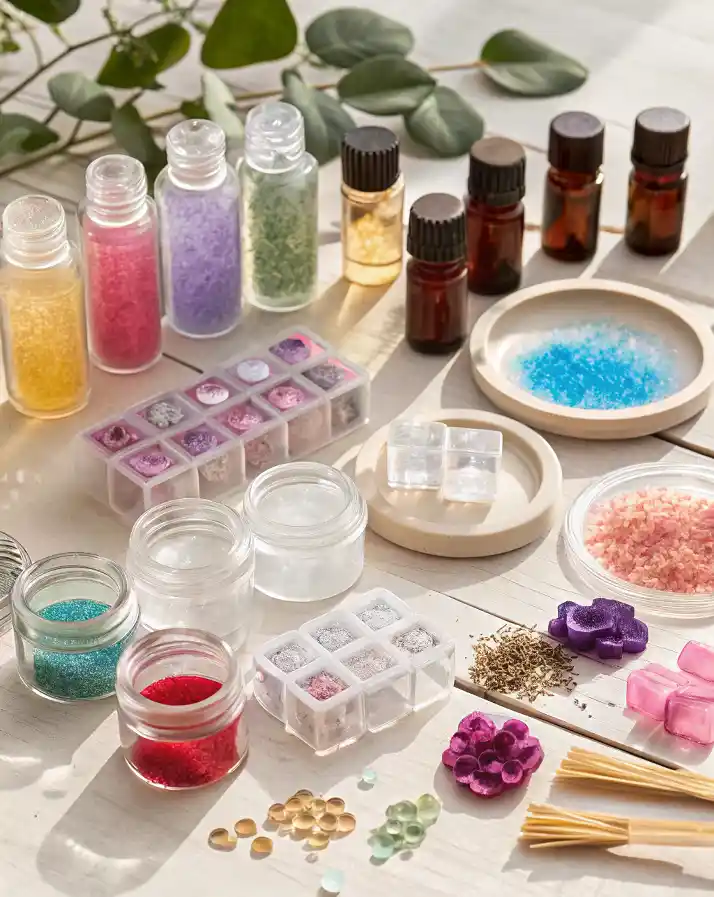
To make your own glowing masterpiece, grab:
- Clear school glue (like Elmer’s Clear)
- Food coloring or liquid watercolors
- Clean plastic lids (from yogurt, takeout, etc.)
- Toothpicks or skewers
- Wax paper or parchment paper
- Optional: glitter, sequins, beads
- Optional: ribbon or string for hanging
Step-by-Step: Let’s Make Magic!
Step 1: Prep Your Space
Lay down parchment or wax paper — glue peels off easily once dry, and it protects your table.
Step 2: Pour the Glue
Fill the inside of your plastic lid with clear glue about ½ inch thick. Don’t spread it too thin, or it may crack when dry.
Step 3: Drop In Color
Add drops of food coloring. One or two per color is plenty! Let kids go wild experimenting with how close or far apart they drop them.
Step 4: Swirl & Decorate
Use a toothpick to gently swirl the colors. Try spirals, hearts, or even letters. You can sprinkle in glitter, tiny beads, or sequins now if you want extra sparkle.
Step 5: Let It Dry (Patience Time!)
Place somewhere flat and dry for 24–72 hours. The glue will turn clear as it dries and becomes a peelable disc.
Step 6: Peel & Trim
Once fully dry, gently peel your suncatcher out of the lid. If the edges are uneven, trim with scissors.
Step 7: Hang & Shine
Punch a small hole at the top and thread with string or ribbon. Tape it to a sunny window or use a suction cup hook.

Fun Variations
- Rainbow Waves – Add your colors in rainbow order and swirl gently to teach about light spectrums.
- Holiday Shapes – Cut into hearts, eggs, pumpkins, or stars.
- Name Art – Write initials or messages with the toothpick.
- Mini Gifts – Use smaller lids to make ornament-sized suncatchers for gift tags or party favors.
Real-Life Tips from My Kitchen Table
- Let kids pick their own colors — they’ll love seeing how their mix turns out.
- Drying time depends on glue thickness and humidity. If it’s still sticky after two days, give it more time.
- If the glue curls while drying, press gently with a book (once it’s mostly dry) or use thicker lids.
Quick FAQ
Can I use white glue?
You can, but it won’t be see-through. For that stained-glass glow, clear glue is a must.
Will the colors fade in the sun?
Over time, yes. For longer-lasting colors, try liquid watercolors or keep suncatchers in indirect sunlight.
Are these weatherproof?
Not really. They’re perfect for indoors but may warp or fade outdoors.
Final Thoughts: Let Their Imagination Shine
The Clear Glue Suncatcher Craft is one of those rare activities that blends creativity, learning, and pure joy — all without costing a dime. Whether you’re homeschooling, entertaining toddlers, or just trying to make the most of what you have at home, this project is a wonderful way to slow down and make something beautiful together.
So go ahead — gather those lids, pour the glue, and let the sunshine (and creativity) in.
From our window to yours,
Alyssa
For more recipes follow me in Facebook and Pinterest

Clear Glue Suncatcher Craft
Ingredients
Method
- Lay down parchment or wax paper to protect your table and make glue removal easy once dry.
- Fill the inside of your plastic lid with about ½ inch of clear glue. Avoid spreading it too thin or it might crack when drying.
- Add one or two drops of food coloring per color into the glue. Let kids experiment with placement.
- Use a toothpick or skewer to gently swirl the colors. Try creating spirals, hearts, or initials. Add glitter, beads, or sequins if desired.
- Place the lid on a flat, dry surface. Let it sit undisturbed for 24–72 hours until completely dry and clear.
- Gently peel the dried suncatcher from the lid. Trim any uneven edges with scissors.
- Punch a hole at the top and thread ribbon or string through. Hang it in a sunny window or use a suction cup hook.
