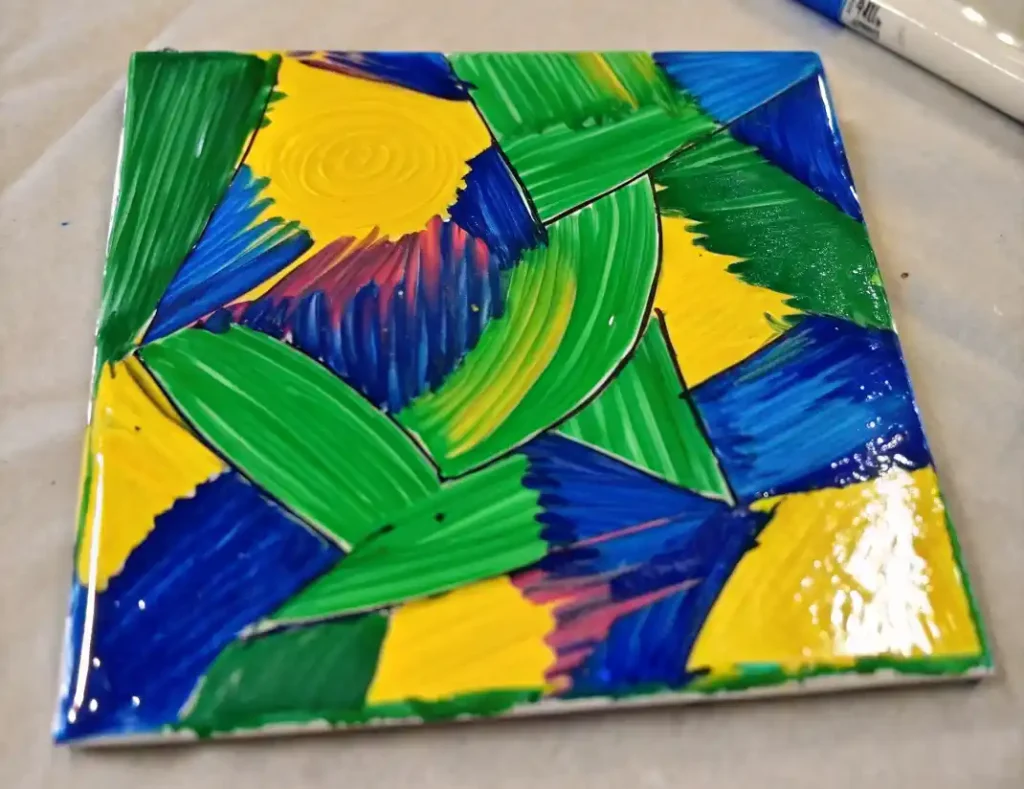
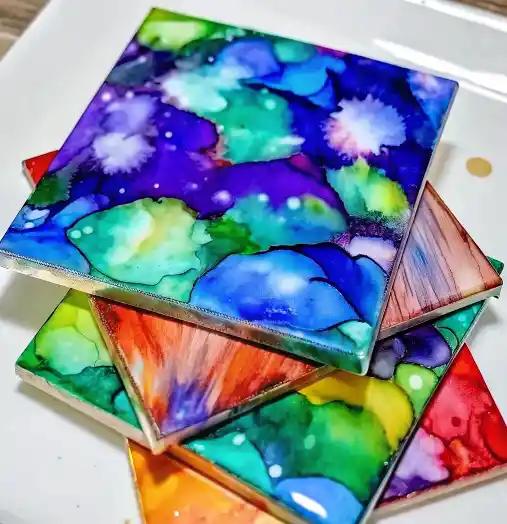
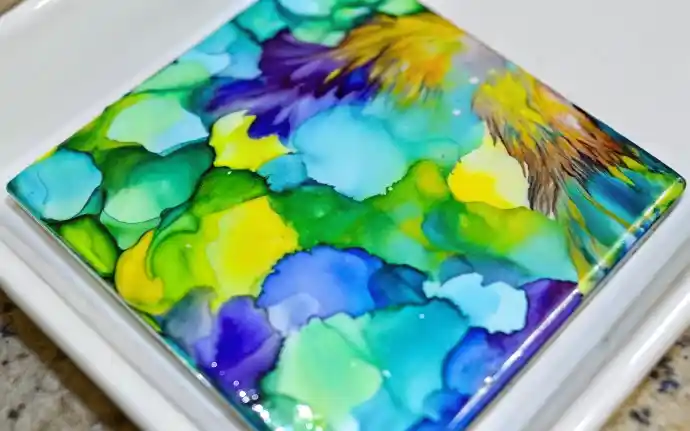
Last winter, during one of those long afternoons when my kids were bouncing off the walls and the sky turned gray before 4 PM, I knew I needed a project that would keep us all sane—and off screens. I didn’t want glitter everywhere, and I definitely didn’t want to spend $100 at the craft store.
That’s when I remembered something I saw online: painting with Sharpies and alcohol.
At first, it sounded like a Pinterest fail waiting to happen. But friends, I’m here to tell you—it was magic. The colors danced, swirled, and melted into each other like tie-dye on tile. And best of all? We only needed a few simple supplies, most of which we already had.
Let me walk you through it, so you can experience the same “Wow, I made that?” feeling we did.

What You’ll Need
You don’t need a craft room or a massive budget—just these few items:
- White ceramic tiles (4×4 inches work great – under $1 at most hardware stores)
- Sharpie markers (any colors you like)
- 91% isopropyl rubbing alcohol (this % is key!)
- A small paintbrush, dropper, or straw
- Clear acrylic sealer (like Krylon UV Resistant Spray – optional for long-term use)
- Paper towels
- Optional: Felt pads or hot glue (for making coasters)
Step-by-Step: How to Paint With Sharpies and Alcohol
Step 1: Clean the Tiles
Wipe your tiles with a little rubbing alcohol or soap and water to remove any dust or residue. Let them dry fully before coloring.
Step 2: Add Sharpie Color
Go wild here! Scribble, swirl, dot, or color block across the tile. Don’t worry about perfection—seriously, the messier, the better.
Step 3: Drop the Alcohol
Using your brush, dropper, or straw, carefully drip the alcohol onto your Sharpie designs. Watch as the colors bleed, spread, and blend. It’s mesmerizing!
Tip: Focus some drops where two colors meet for a dreamy, watercolor effect.
Step 4: Let It Dry
Once you’re happy with the look, set the tile aside and let it dry completely—about 30 minutes to an hour.
Step 5 (Optional): Seal Your Artwork
To preserve your creation, especially if you’re making coasters, spray a clear sealer over the tile in a well-ventilated space. Let it dry thoroughly.

Pro Tips From My Craft Table
- Don’t use 70% alcohol – it won’t work nearly as well. Stick with 91%.
- Less is more – too much alcohol will wash out your colors.
- Fix mistakes easily – just add more color and alcohol to re-blend.
- Make it yours – use metallic Sharpies for shimmer or black outlines for drama!
What to Do With Your Masterpieces
Once your painted tiles are dry and sealed, you can:
- Turn them into coasters with a felt pad or cork backing
- Frame them as mini art
- Use them as decorative trivets
- Add a magnet and pop them on the fridge
- Create a unique gift set for holidays, birthdays, or teacher appreciation
Frequently Asked Questions
Q1: How do you do Sharpie and alcohol art?
A: Sharpie and alcohol art is a fun and easy DIY project that involves coloring a non-porous surface (like ceramic tiles) with Sharpie markers, then applying 91% isopropyl alcohol to make the colors blend, blur, and swirl like watercolor. It’s as simple as:
- Scribble with Sharpies
- Drop or brush on rubbing alcohol
- Let the magic happen!
This method is great for beginners and doesn’t require fancy supplies—just some creativity and a little patience.
Q2: Can you actually paint with Sharpies?
A: Yes, you can paint with Sharpies! While they’re technically markers, the alcohol-based ink inside reacts beautifully when blended with rubbing alcohol. The result is a soft, watercolor-like effect that mimics paint. Combine that with a little strategic dabbing or dragging using a brush, and you’ve got yourself a painted masterpiece—Sharpie style.
Q3: How do you paint with Sharpies and alcohol on tiles?
A: Painting with Sharpies and alcohol on ceramic tiles is super beginner-friendly. Here’s how:
- Start with clean, dry white tiles (available at any home improvement store).
- Color directly on the tile using your favorite shades of Sharpie.
- Use a dropper, straw, or paintbrush to apply 91% rubbing alcohol.
- Watch as the ink spreads and blends into beautiful abstract patterns.
- Let it dry, then seal it with a clear acrylic spray if you want it to last.
This technique is perfect for coasters, gifts, or wall art.
Q4: Do you need special brushes for alcohol ink?
A: Not at all! For this project, simple tools like small craft paintbrushes, cotton swabs, droppers, or even drinking straws will do the trick. The key is controlling how and where the alcohol is applied. If you’re using actual alcohol inks in other projects, you might want to invest in alcohol ink-specific tools—but for Sharpie and alcohol art, what you already have at home is probably good enough.
Final Thoughts
If you’ve ever doubted your creative abilities, this project will change your mind. It’s forgiving, fun, and the results are truly beautiful. Whether you’re crafting with kids, having a cozy DIY night with friends, or just needing a quiet moment to yourself—this is the project that delivers beauty and calm without stress or mess.
So go grab those Sharpies and some rubbing alcohol. You’re just a few scribbles away from your next favorite craft.
For more recipes follow me in Facebook and Pinterest

Sharpie and Alcohol Painted Tiles
Ingredients
Method
- Clean your ceramic tile with rubbing alcohol or soap and water to remove any dust or residue. Let it dry completely.
- Decorate the tile with Sharpie markers. You can scribble, swirl, dot, or color block—don’t worry about being perfect!
- Use a paintbrush, dropper, or straw to drip 91% rubbing alcohol onto the tile. Watch the colors blend and spread like watercolor.
- Let the tile dry completely for 30 to 60 minutes.
- Optional: Spray a clear acrylic sealer over the tile in a well-ventilated area to preserve your design.
- Optional: Attach felt pads or use hot glue on the bottom corners to turn your tile into a coaster.
